High quality GIF from video
Learn how to create high-quality GIFs from video using FFmpeg's custom palette generation. I share my 'gifify' script that automates the process, with options for FPS, scaling, and compression, plus visual examples comparing default vs custom palettes.
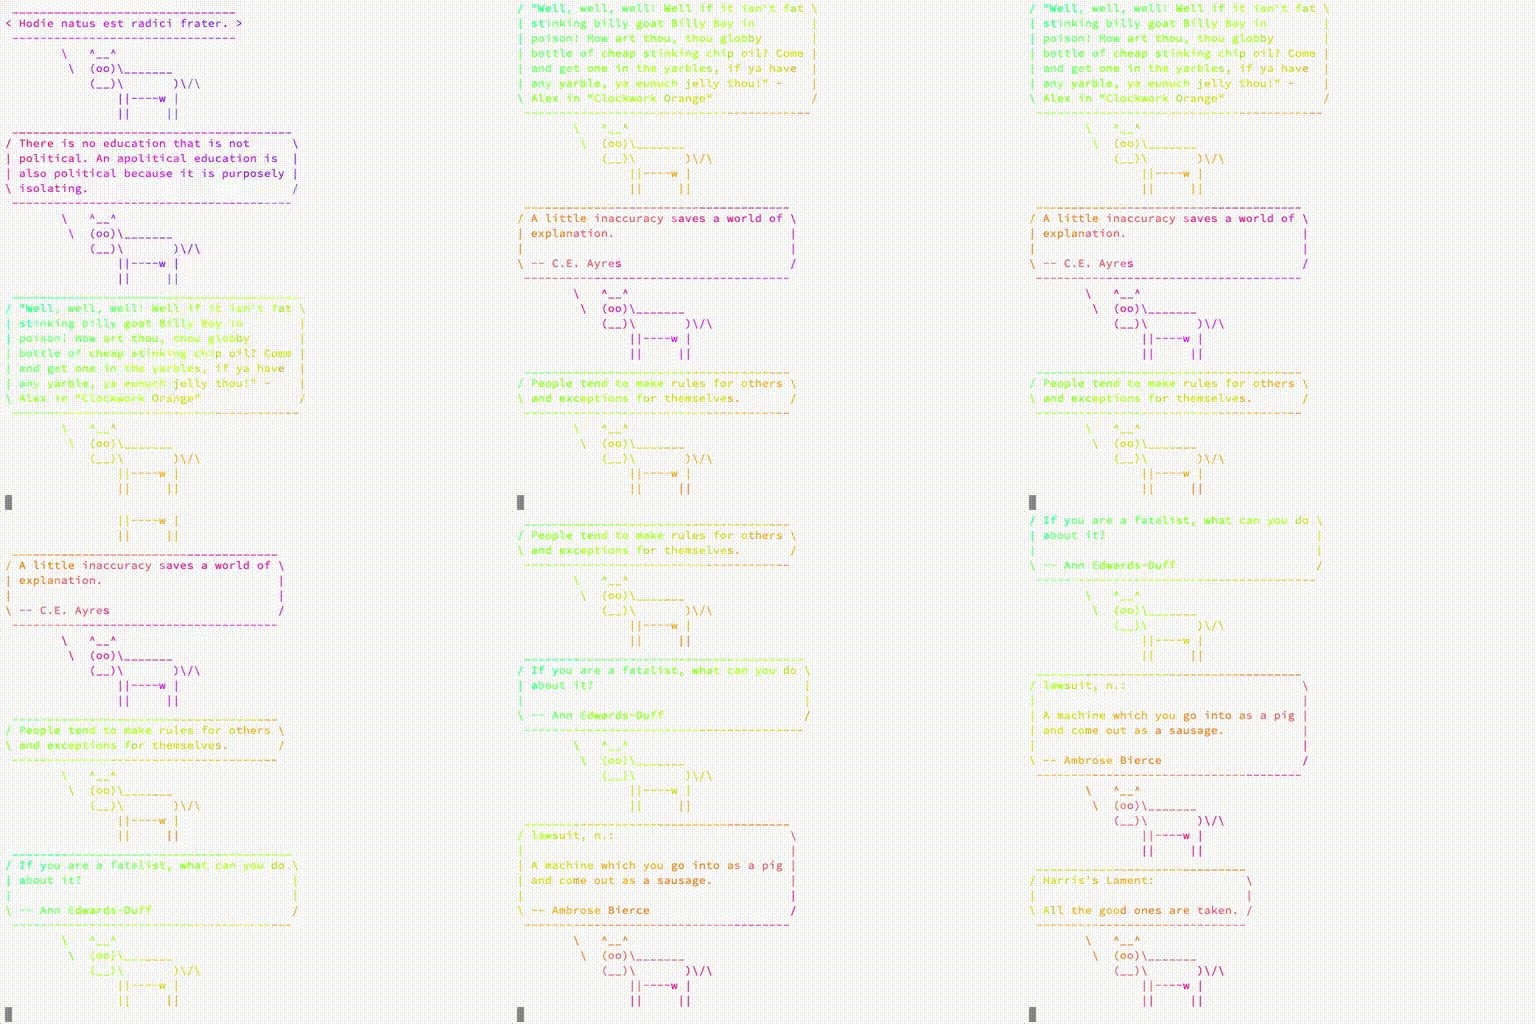
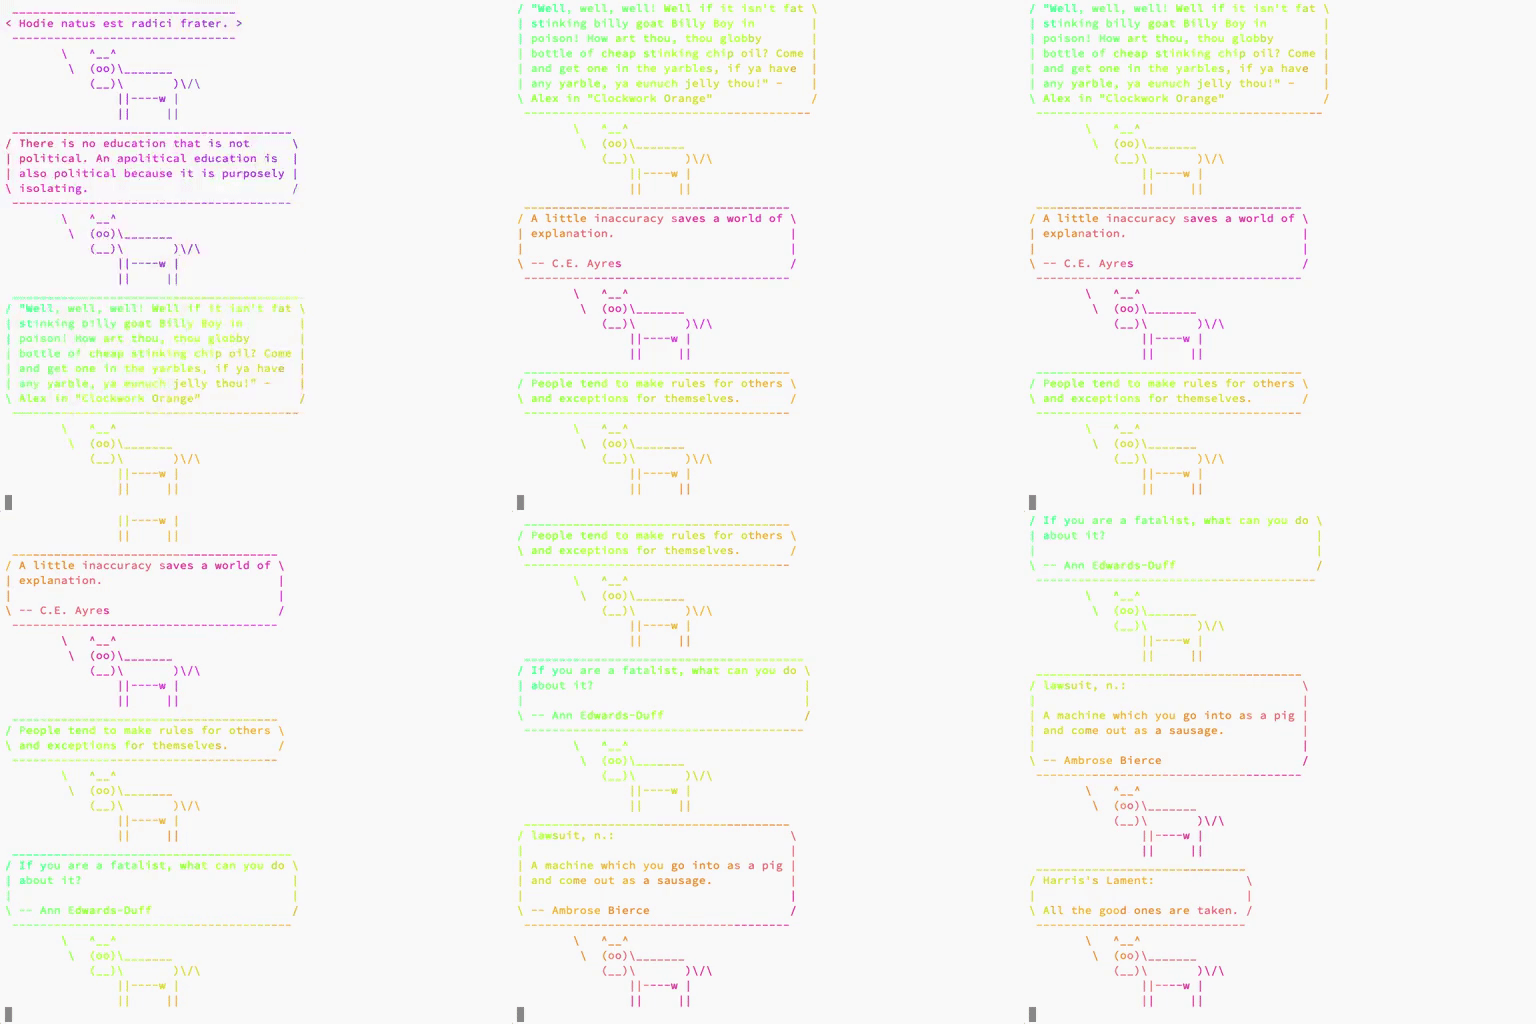
When it comes to converting video to GIF, you usually end up with a huge file and questionable quality. Most guides suggest using FFmpeg for the conversion, but they rarely address the quality of the result. As it turns out, the FFmpeg team has made some significant improvements in GIF output quality.
As you probably know, GIF is limited to a palette of 256 colors. And by default, FFmpeg just uses a generic palette that tries to cover the whole color space in order to support the largest variety of content:

The idea is to generate a custom palette and use it during conversion.
# generate a palette
$ ffmpeg -i input.mov -vf "fps=10,scale=320:-1:flags=lanczos,palettegen palette.png"

# output the GIF using generated palette
$ ffmpeg -i input.mov -i palette.png -filter_complex "fps=10,scale=320:-1:flags=lanczos[x];[x][1:v]paletteuse" output.gif
Since I'm not good at remembering these commands (and I hate cycling through command history), I've created a simple script that does exactly this. It's called gifify and you can find it in my .environment repository.
$ gifify -i file.mov # output is file.gif
Strong points of this script:
-
You can pass scaling to
ffmpeg(usually I don't want to mess with the actual size). Default value is1.$ gifify -i file.mov -s 0.5 -
You can pass FPS to
ffmpeg. Default value is24.$ gifify -i file.mov -fps 24 -
The output file is defined automatically (input filename extension is changed to
gif), but you can specify it manually.$ gifify -i file.mov -o /path/to/gifs/mega.gif -
Allows using default palette (custom one won't be generated).
$ gifify -i file.mov --default-palette -
Allows compressing resulting GIF using
gifsicle. By default, result is not compressed.$ gifify -i file.mov --compress -
You can pass any additional arguments to
ffmpeg(like time).$ gifify -i file.mov -t 26
My main concern is usually quality, not file size. However, if you do need to reduce the output size, you have several options:
- Lower the FPS. In most cases, 15 FPS is good enough, and it significantly reduces file size.
- Use scaling. For screen recordings, you rarely need the original size - scaling down can help considerably.
- Use the default palette if you're comfortable with slightly lower quality.
- Use compression provided by
gifsicle.
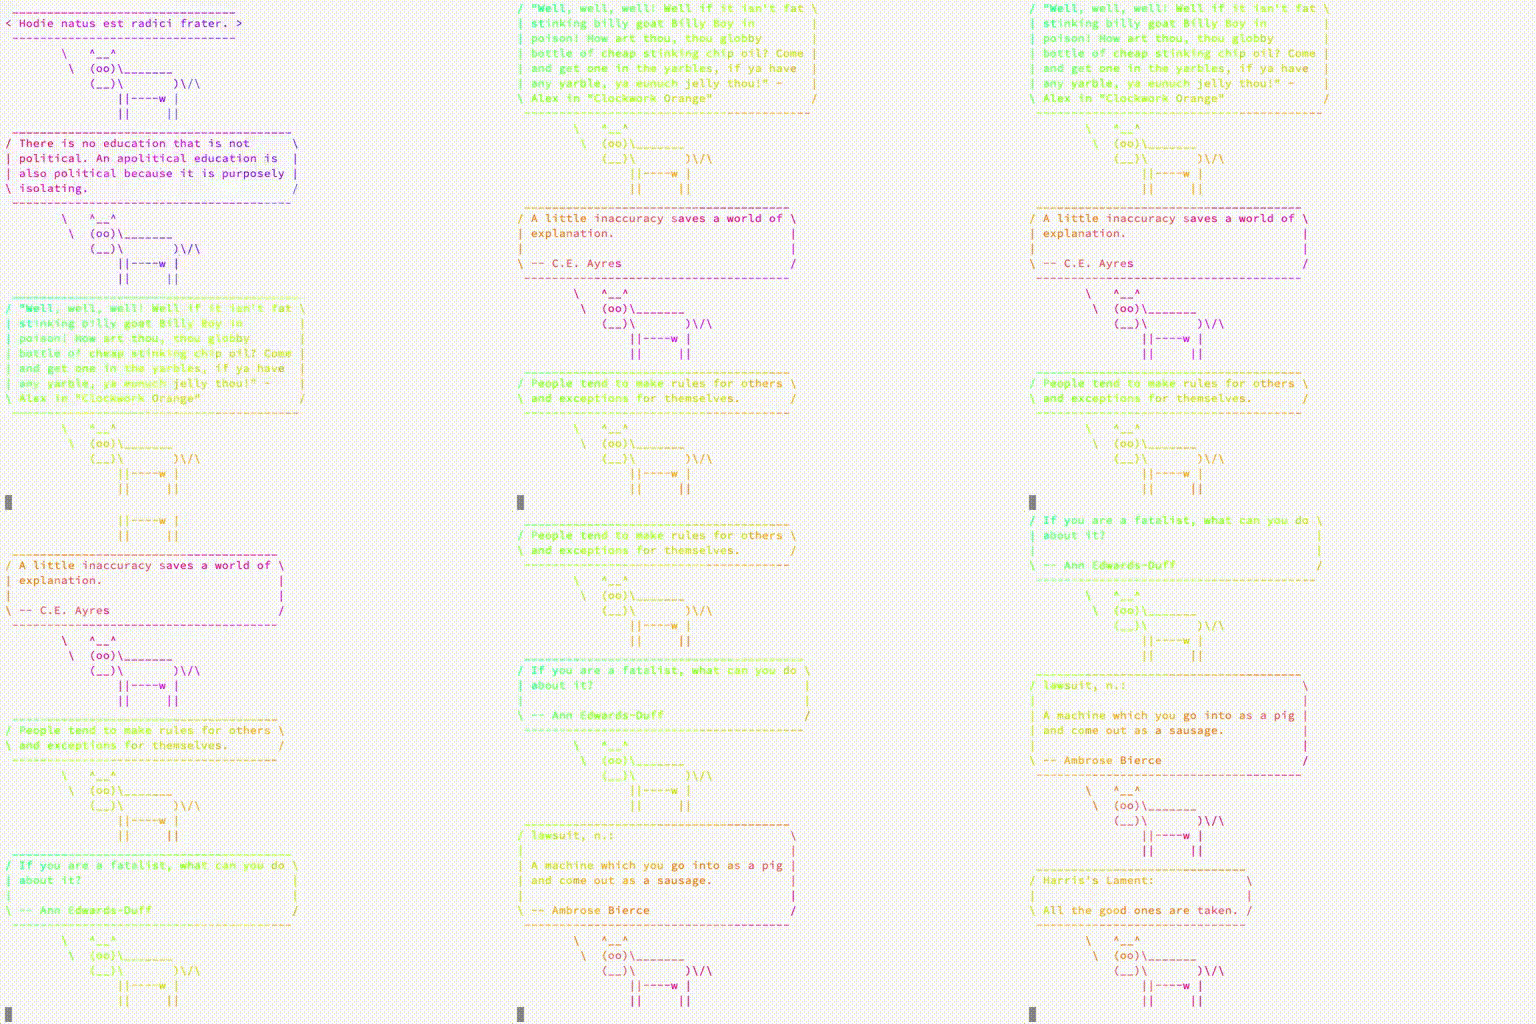
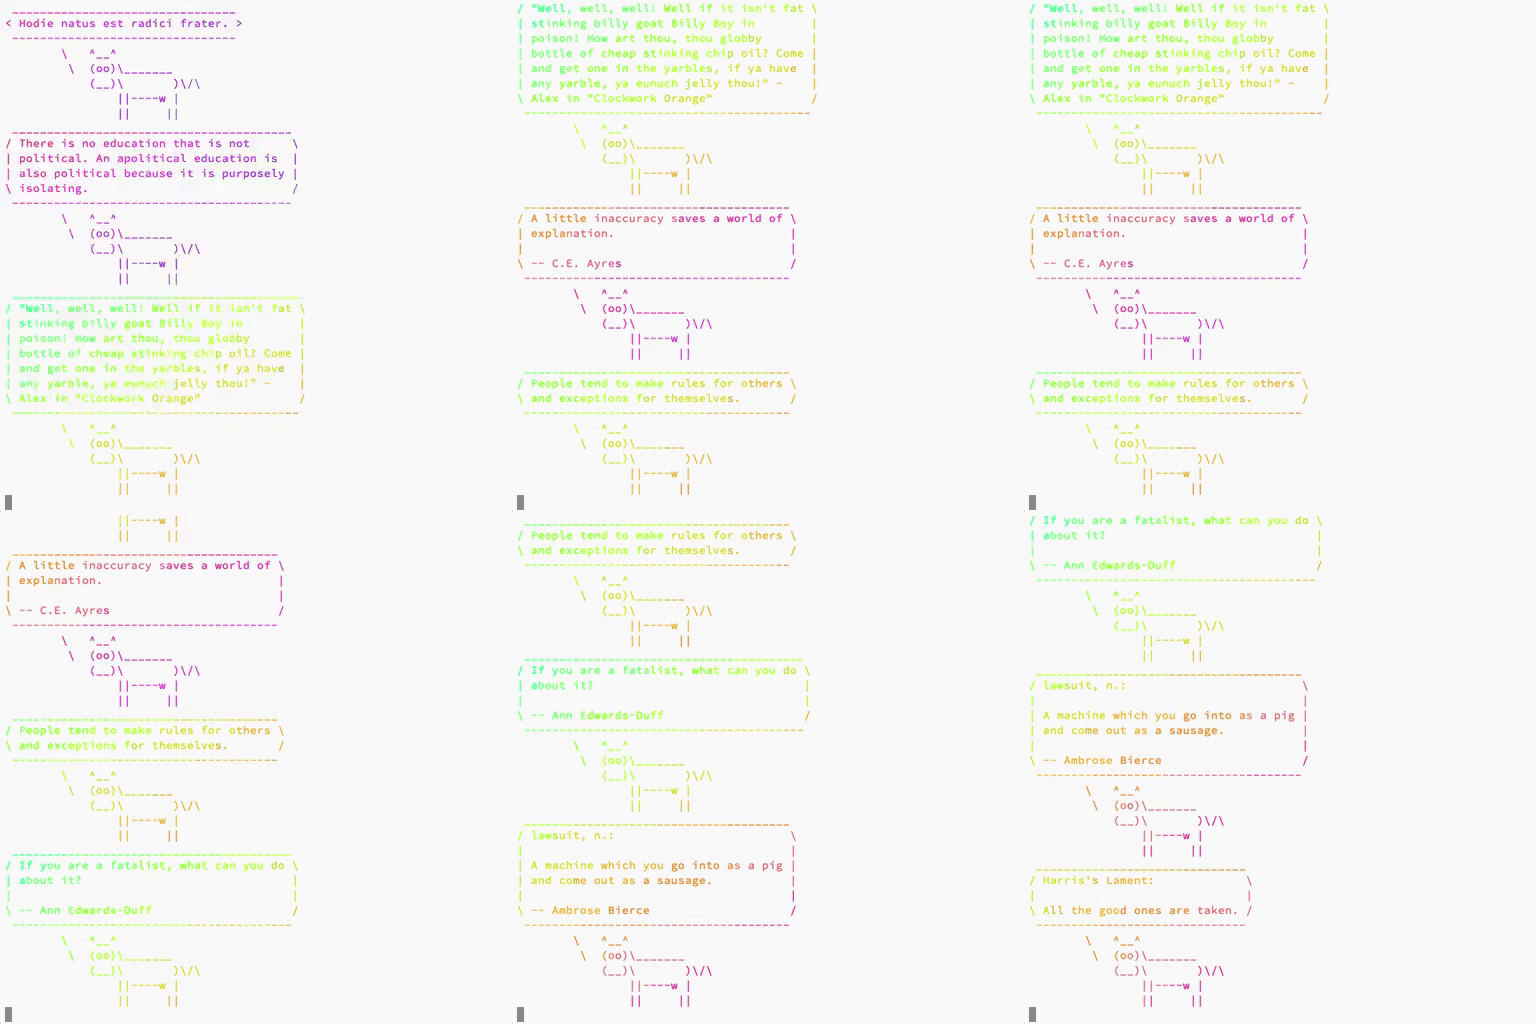
#1Palettes: default vs custom
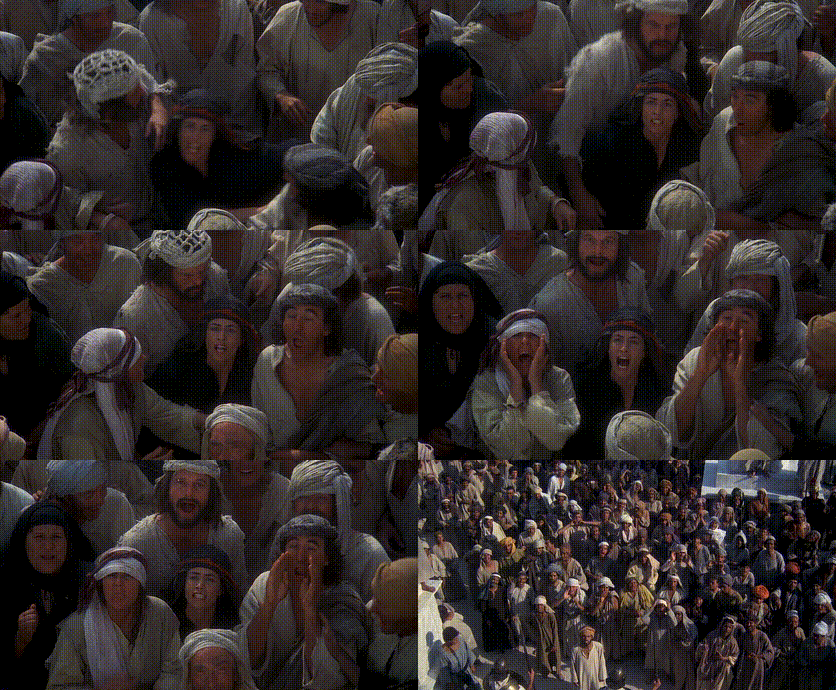
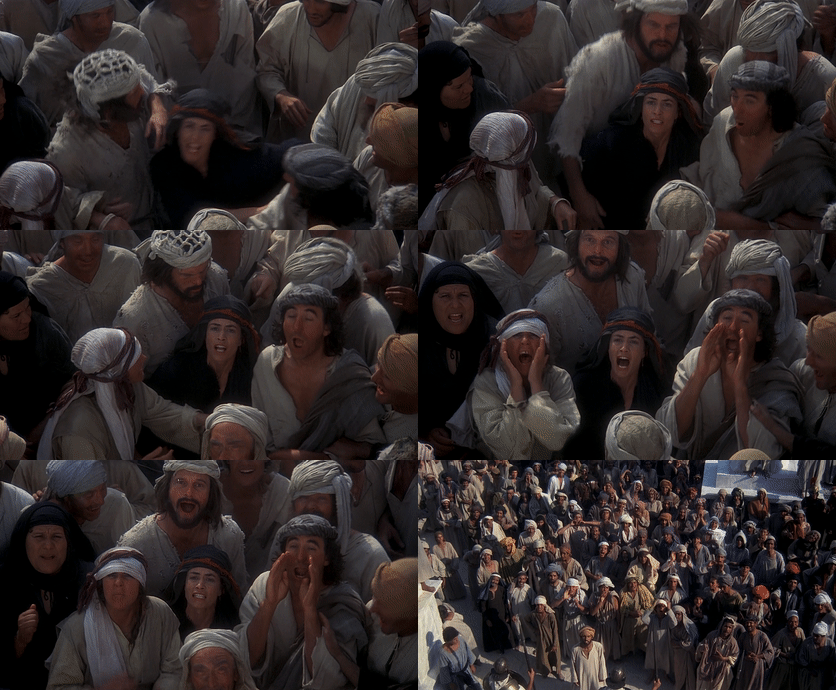
Here are several examples where the difference between default and custom palettes is visible. In the first example, the difference is more obvious than in the others, but you can still spot improvements in all of them.
#1Installation
First, you need to install dependencies: ffmpeg and gifsicle. On macOS, you can install them using brew.
$ brew install ffmpeg gifsicle
Then you need to grab the latest version of gifify.
$ curl https://raw.githubusercontent.com/d12frosted/environment/master/utils/bin/gifify > /path/to/gifify
$ chmod +x /path/to/gifify
Note that gifify should be in a folder that's in your PATH. I usually put gifify in $HOME/.local/bin.
#1Source code
You can find the latest version on GitHub.
#!/usr/bin/env bash
#
# Convert video to gif
#
# Usage:
#
#  gifify -i FILE [OPTIONS]
#
# To the list of all options, use
#
#   gifify --help
#

set -e

POSITIONAL=()
SCALE=1
FPS=24
PTS=1
PALETTE="custom"
COMPRESS=0

while [[ $# -gt 0 ]]
do
  key="$1"

  case $key in
    -i|--input)
      INPUT="$2"
      shift # past argument
      shift # past value
      ;;
    -o|--output)
      OUTPUT="$2"
      shift # past argument
      shift # past value
      ;;
    -s|--scale)
      SCALE="$2"
      shift # past argument
      shift # past value
      ;;
    --fps)
      FPS="$2"
      shift # past argument
      shift # past value
      ;;
    --pts)
      PTS="$2"
      shift # past argument
      shift # past value
      ;;
    --default-palette)
      PALETTE="default"
      shift # past argument
      ;;
    --compress)
      COMPRESS=1
      shift # past argument
      ;;
    *)    # unknown option
      POSITIONAL+=("$1") # save it in an array for later
      shift # past argument
      ;;
  esac
done
set -- "${POSITIONAL[@]}" # restore positional parameters

function print_usage() {
  echo "Usage:

 gifify -i FILE [OPTIONS]

   -i, --input FILE     (required) specify input video file

   -o, --output FILE    (optional) specify output gif file

                        defaults to input file with extension changed to gif

   -s, --scale INT      (optional) specify scale of the resulting gif (affects
                        both width and height)

                        affects speed of conversion and physical size of the
                        resulting gif

                        defaults to 1

   --fps INT            (optional) specify FPS of the resulting gif

                        defaults to 24

   --pts INT            (optional) specify PTS of the resulting gif

                        affects speed of the playback

                        defaults to 1

   --default-palette    (optional) enforce default palette instead of
                        specially generated one, may lead to worse quality

   --compress           (optional) compress the gif to make physical size
                        lesser, may lead to worse quality
"
}

if [[ -z $INPUT ]]; then
  echo "Missing input"
  print_usage
  exit 1
fi

if [[ ! -f $INPUT ]]; then
  echo "'$INPUT' is not a file"
  print_usage
  exit 1
fi

if [[ -z $OUTPUT ]]; then
  OUTPUT="${INPUT%.*}.gif"
fi

if [[ $COMPRESS == "1" ]]; then
  OUTPUT_TEMP="tmp_$OUTPUT"
else
  OUTPUT_TEMP="$OUTPUT"
fi

PALETTE_FILE="${INPUT%.*}.png"
filters="fps=${FPS},scale=iw*${SCALE}:ih*${SCALE}:flags=lanczos,setpts=${PTS}*PTS"

echo "input    = ${INPUT}"
echo "output   = ${OUTPUT}"
echo "scale    = ${SCALE}"
echo "fps      = ${FPS}"
echo "pts      = ${PTS}"
echo "palette  = ${PALETTE}"
echo "compress = ${COMPRESS}"
echo "args     = ${POSITIONAL[*]}"
echo "filters  = $filters"
echo

function cleanup () {
  rm -f "$PALETTE_FILE"
}

trap cleanup INT TERM EXIT

case $PALETTE in
  custom)
    # shellcheck disable=SC2086
    ffmpeg ${POSITIONAL[*]} \
      -i "$INPUT" \
      -vf "$filters,palettegen" \
      "$PALETTE_FILE"

    # shellcheck disable=SC2086
    ffmpeg ${POSITIONAL[*]} \
      -i "$INPUT" \
      -i "$PALETTE_FILE" \
      -filter_complex "$filters [x]; [x][1:v] paletteuse" \
      "$OUTPUT_TEMP"
    ;;

  default)
    # shellcheck disable=SC2086
    ffmpeg ${POSITIONAL[*]} \
      -i "$INPUT" \
      -filter_complex "$filters" \
      "$OUTPUT_TEMP"
    ;;
esac

if [[ $COMPRESS == "1" ]]; then
  gifsicle --optimize=3 --delay=3 "$OUTPUT_TEMP" -o "$OUTPUT"
fi
#1More quality
In this post, I've only covered quality improvements from using a custom palette. However, there are other ways to tweak your GIF when using FFmpeg. You can find out more in High quality GIF with FFmpeg.